I’ve been a bit quiet on here because I’ve been dealing with some things, but I’ve used the time wisely to work through a skirt pattern. I was determined to get a skirt block that actually fit me. I seem to be drawn to pencil skirts that are just too tight across the hips, then big in the waist, or dig in, or I can’t sit down in them. I set off down a rabbit hole of reading reviews, looking at tutorials and in the end decided to self draft.
I found this one which worked really well for me – check it out. There is a little bit of math involved (not much, promise). I’ve drafted the steps in my words below – hope it helps someone.
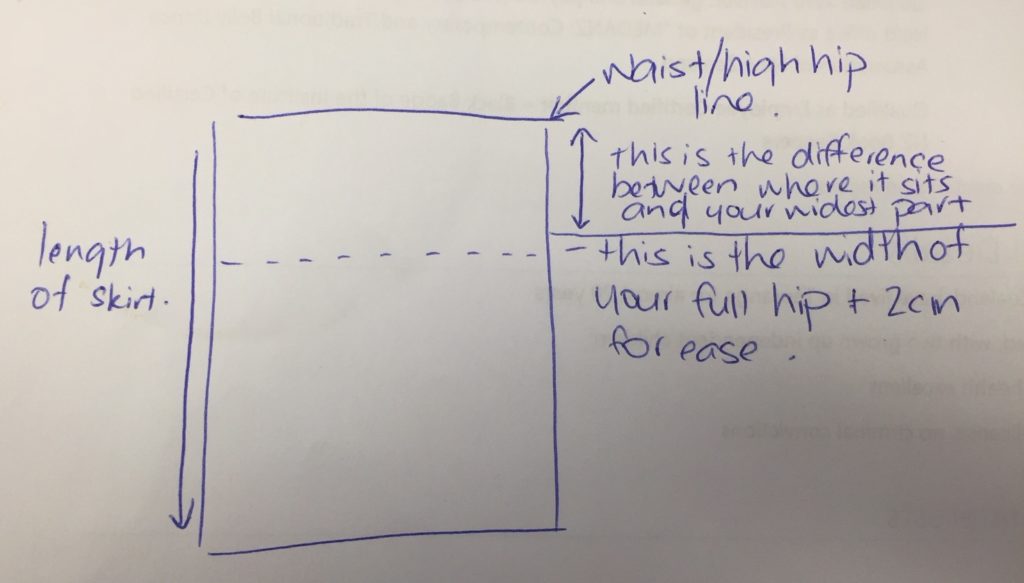
- Measure your waist, high hip (you might wish for it to sit there) and full hip (your widest point). Mine were 89cm, 105cm,128cm respectively. So I used the widest measurement to divide by 4 and added 2 cm of ease and drew a rectangle with this width and the length I wanted to make the skirt.
Step 2. find your waist measurement 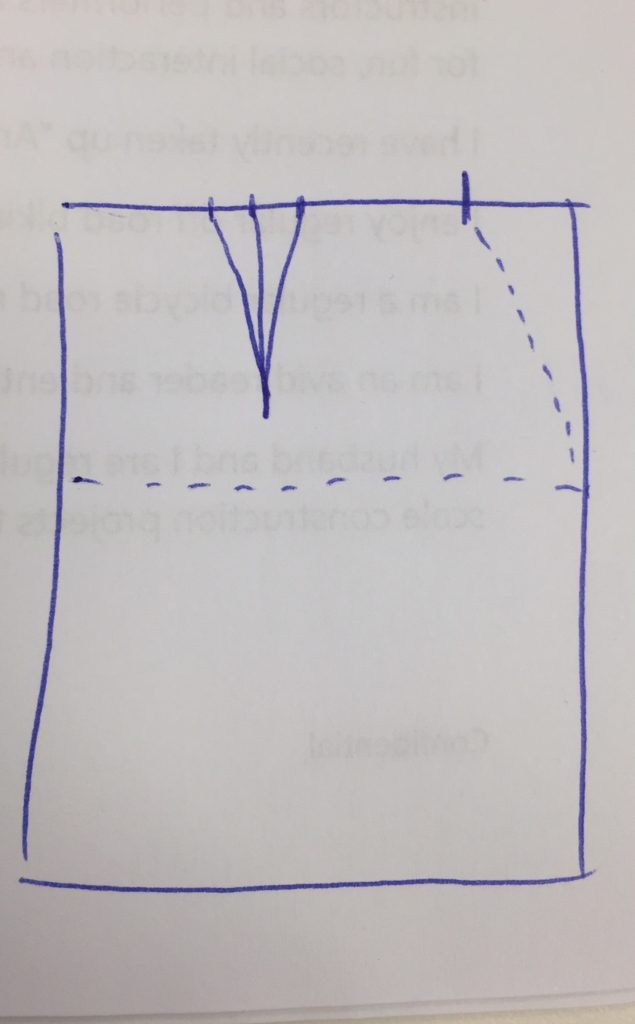
2. Next measure the length/ height of where you want the skirt to sit and your widest point
3. Draw your rectangle and find the high hip measurement (mine was 105cm so I divided that by 4 and added 2cm for the dart)
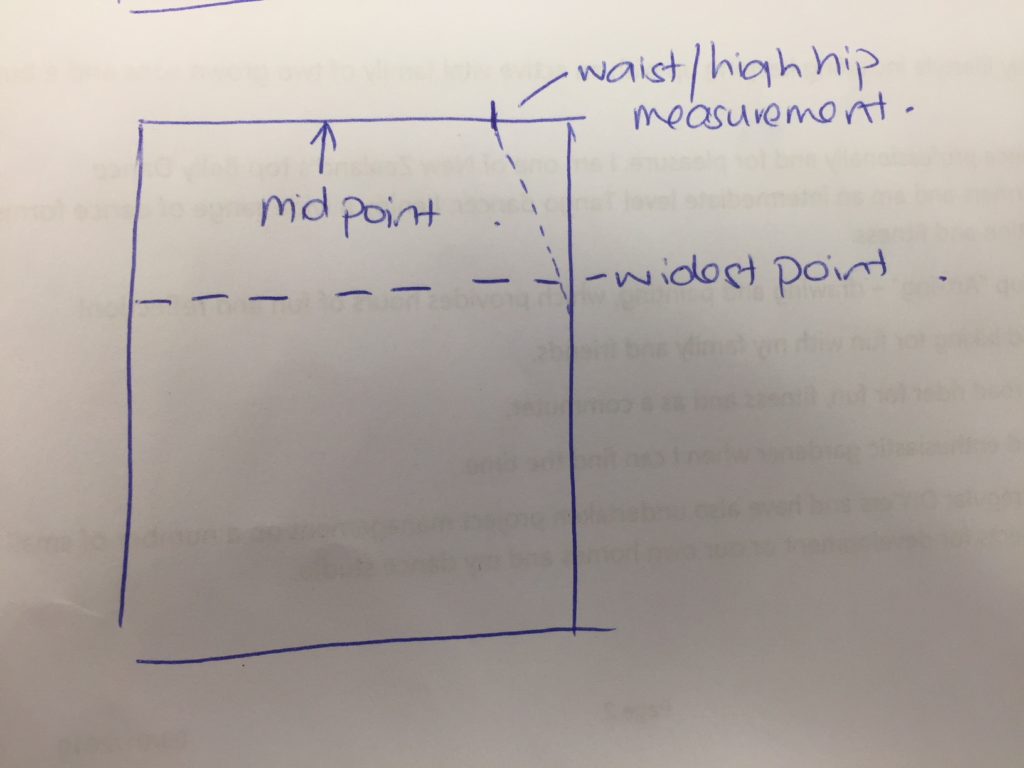
4. Mark that measurement at the top
5. Find the mid point of this and mark 1 cm either side of the midpoint to make the dart. Measure down 9cm and join it up
6. smooth the line between the top and widest point
7. Add 2cm above the high hip marking (you will need the height for your curves
8. Smooth out the line
Once you’ve got all that, you can cut out your pattern (I use pattern material rather than piecing paper together but you can really use whatever you want). I used the front and back exactly the same because I knew I would need to do a full bum and full belly adjustment so I just did a straight mock up to see how close it would get.
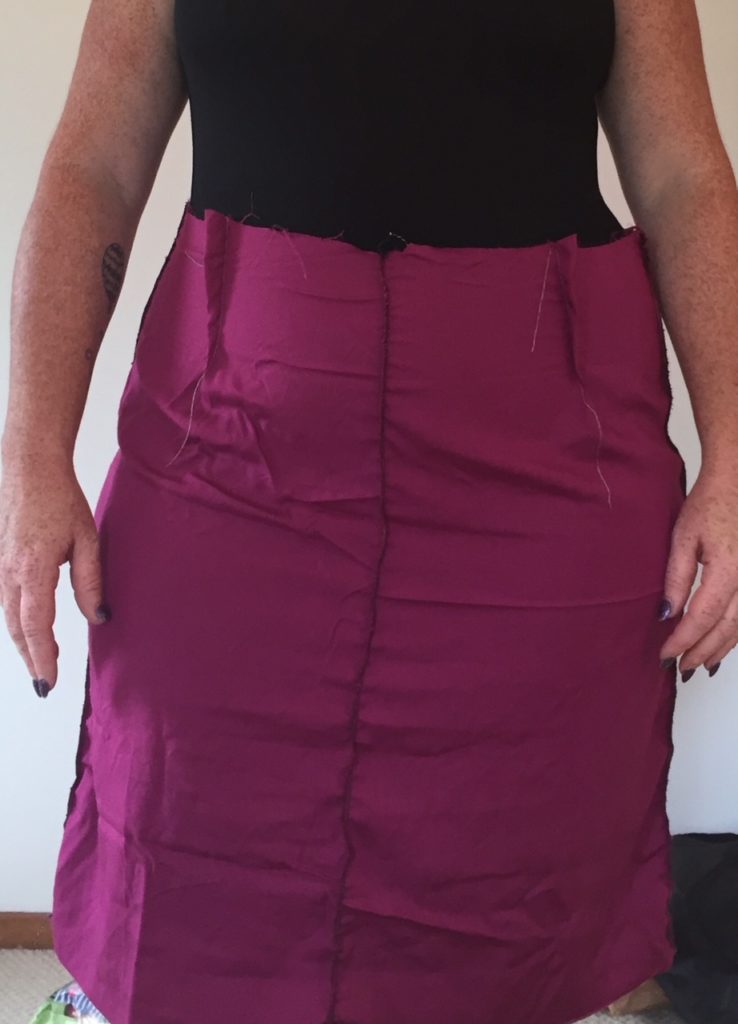
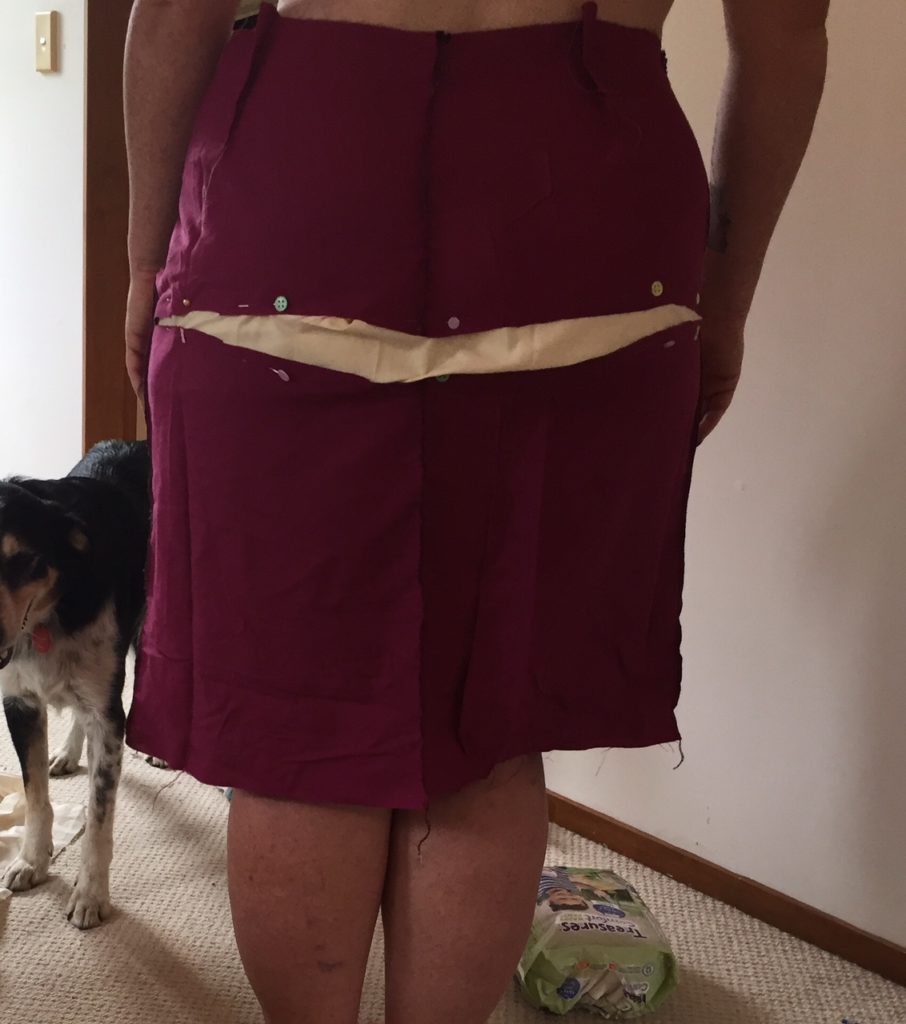
So in the first photo you can see that it is pulling across the fullest part of my hips. I knew this would happen so I took it off and split the back to do a full bum adjustment but adding material and pinning until the pulling eased. Then I split the front and did a minor full belly adjustment. I then used my high hip measurement to draft out the waist band. I didn’t bother adding the waistband to the muslin.
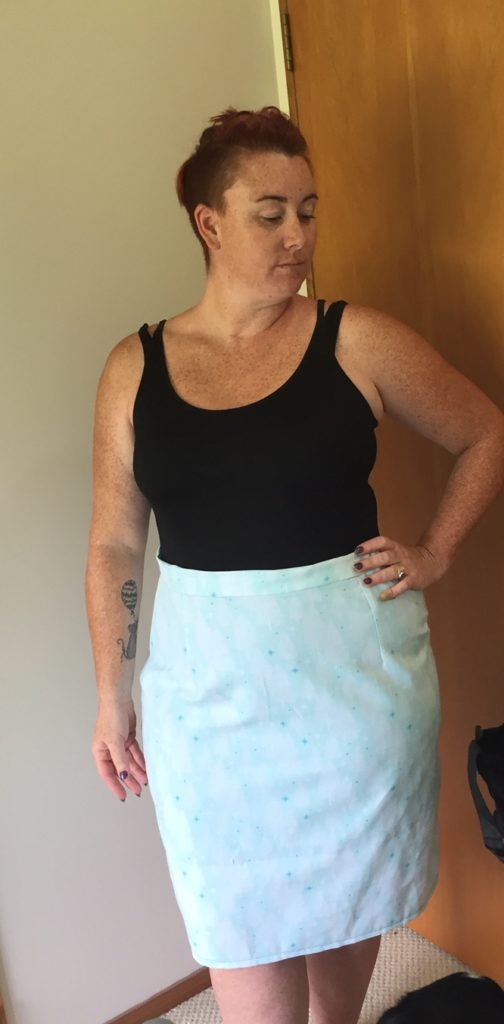
So here is take 2. You can see that the drag lines have nearly disappeared (I could probably adjust more if I wanted and I might next time but I thought this was pretty good!!)
Material: This is furnishing fabric so it is very heavy and unforgiving which is also why there are drag lines. I love it but next time I will use a lighter material.
Wine pairing: I made these during the day, so I’d like to say that I didn’t give that much thought to drinking – but that would be a lie, because, MATH!! nope nope nope. There was a lot of coffee involved.
I will now use this base as a way to make a pencil skirt by pegging it in around the knees.
So there you go – hope you enjoyed that and I hope to have another blog up in the next day or so, so stay tuned 🙂
That looks fab!
Thanks – next one will have pockets and belt loops